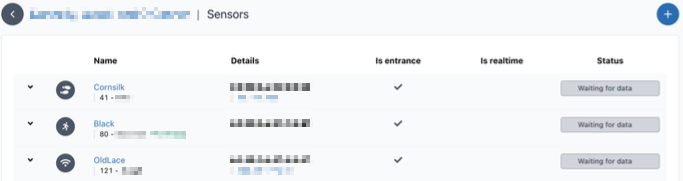
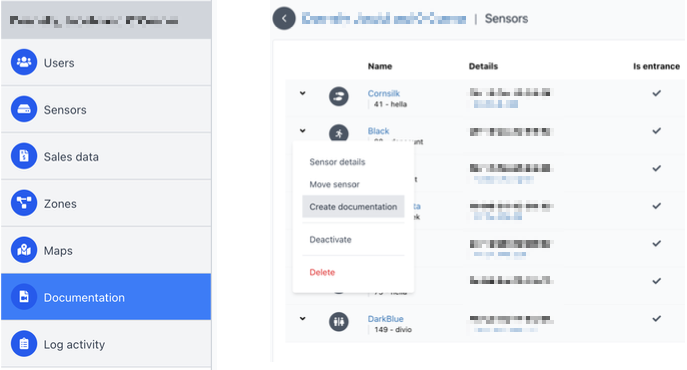
To access sensor documentation, navigate to a location and choose “Documentation“ in the side menu. The documentation overview can be seen here. To create a new documentation, simply click the blue “Add new” button in the top right.
There is also a shortcut from the sensors overview, accessed by choosing “Create documentation” from the dropdown list on a sensor. This will redirect to the documentation form with the correct sensor already set.
Creating a documentation
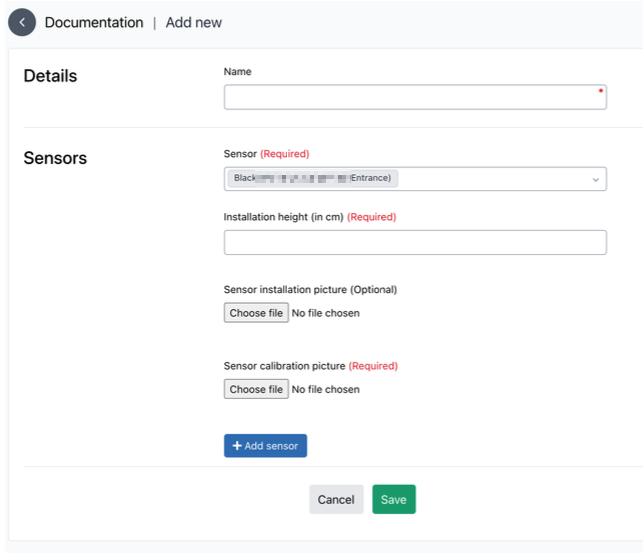
A documentation requires at least 1 sensor to be chosen, as well as installation height and calibration picture for that sensor.
The sensor installation picture is a picture of how the sensor is physically installed.
The sensor calibration picture is a screenshot of the sensor view, and the created counting lines.
A documentation can contain multiple sensors. To add another sensor to the documentation, press the “Add sensor” button.
Validations
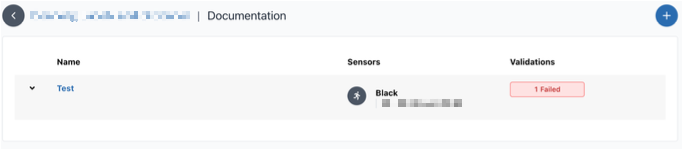
Once a documentation has been created, it can be viewed in the documentation overview. The documentation overview shows the name, sensors and validations for the documentation.
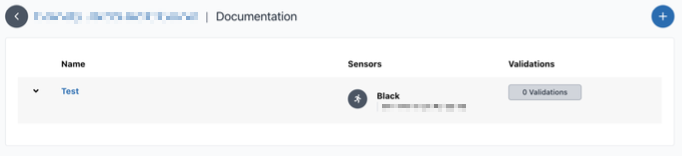
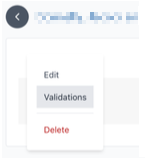
To access validations for a documentation, either click the box that says, “0 Validations”, or choose “Validations” in the dropdown menu.
In the validations overview, create a new validation by clicking on the “Add new” button in the top right.
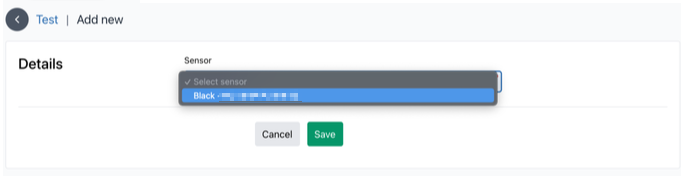
To create the validation, choose a sensor from the dropdown.
Once a validation has been created, its status will be “Pending”. A validation has 3 possible states: “Pending”, “Failed” and “Validated”.

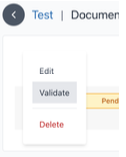
To validate, either click the yellow button that says “Pending” or choose “Validate” in the dropdown menu.
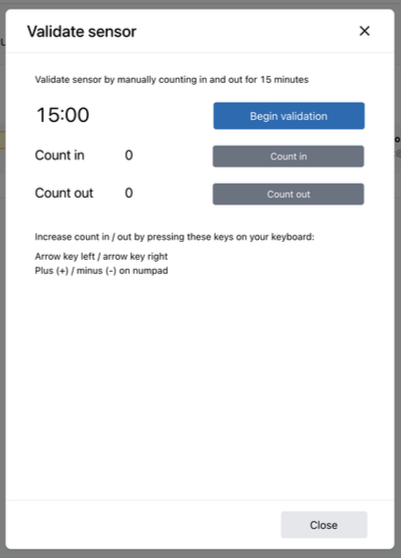
The validation screen will show up, which has a timer. To validate a sensor, it is required to manually count for 15 minutes. To prepare for validation, bring up the sensor view for manual counting.
Once ready, click “Begin validation”, and the timer will begin to count down.
Now either click the gray buttons to count in / out, or use the hotkeys as described.
When the timer reaches 0, the validation will stop.
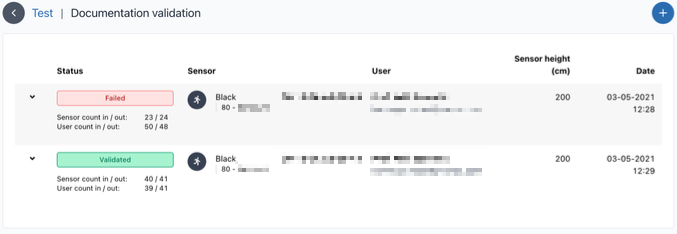
Depending on how accurate the sensor counted, a validation will change state to either failed or validated. An example of both a validated and failed validation can be seen below. The sensor counts, as well as the users counts, can be seen below the status.
When viewing the documentation from the overview, a failed validation will take precedence over any validated ones. This means that even if the sensor has been validated at a later point, it will still show up as failed in the documentation overview.
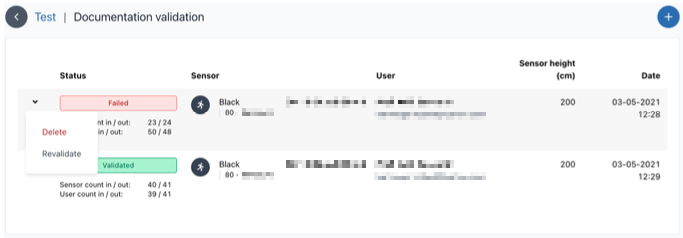
However, it is possible to delete validations with “Pending” and “Failed” status, so only the validated ones remain. Validations with state “Validated” cannot be deleted.
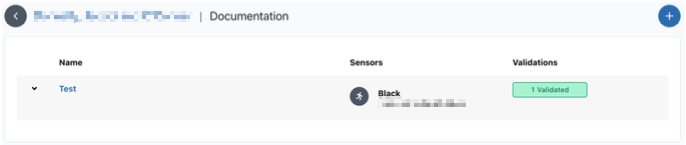
Once a documentation only contains validated validations, it will show the count of these in the overview.
In the sensor overview, validated sensors will be shown with a green (Validated) note.